
How to create and manage signatures in Apple Mail
A signature is automatically placed at the end of each e-mail message. Let's see how to create one.
1) Go to Mail... then click Preferences.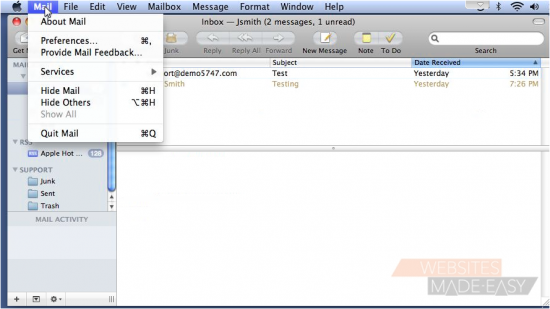
2) Select the Signatures tab.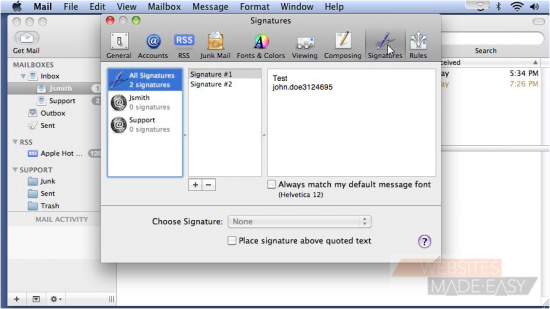
3) To delete a signature, select it... then click the minus sign.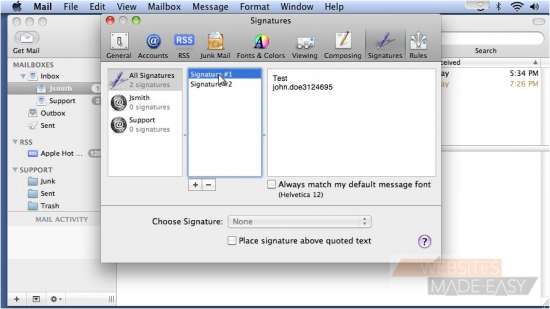
4) Clicking OK will permanently remove the signature. This cannot be undone.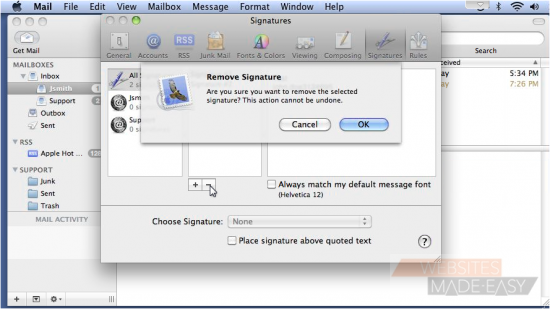
5) Let's add a new signature by clicking the plus icon.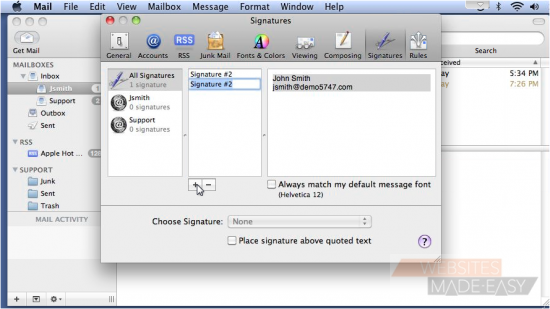
6) Give this signature a name... then click the right window pane and type to edit the signature.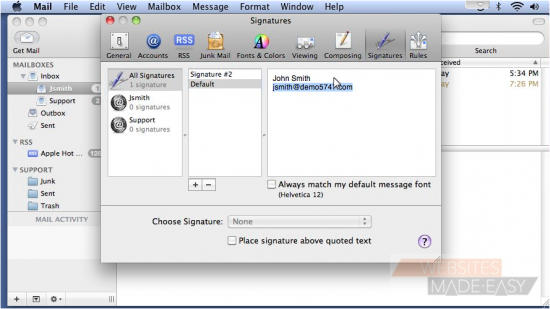
7) It's possible to create different signatures for each e-mail address you have added to Mail instead of using the same one for all accounts. Click an account...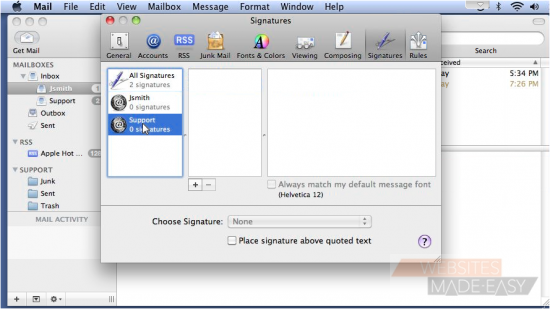
8) ... then add a new signature as we did in the last step.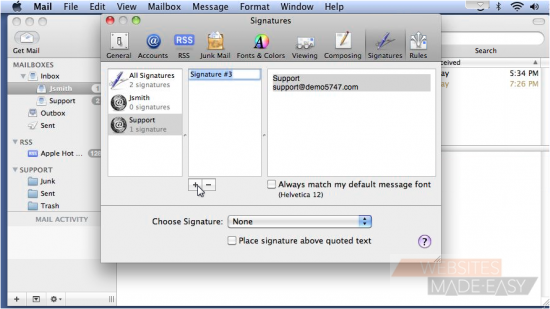
9) Set the default signature to use for this account.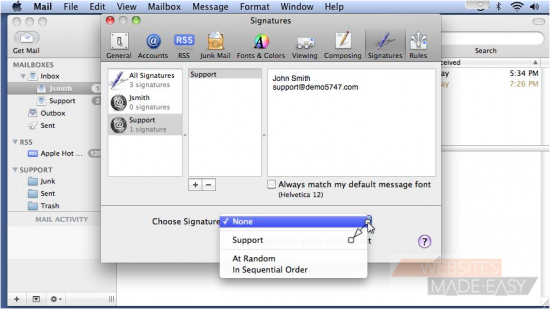
That's it! Now you know how to create and manage your signatures.